Technical Indicator

Mastering Spread Data Logging with MetaTrader 4: Your Ultimate Guide
MetaTrader4
Mastering Spread Data Logging with MetaTrader 4: Your Ultimate Guide

Are you getting the spread your broker quoted you? Have you ever wanted to double-check spread data from another source or even create your own? Description: The Spread Logger is a handy tool made up of two indicators: Spread Logger Write - This indicator creates a CSV file containing spread data over time, all in real-time. Spread Logger Read - This one reads the CSV file you created, displays key stats, and visually represents the collected data on your chart, including live spread updates. How to Use: Save both files in your terminal\experts\indicators folder. Using Spread Logger Write: Attach Spread Logger Write to any chart by going to Insert > Indicators > Custom > Spread Logger Write. Name your file under the inputs tab or stick with the default name. Keep your MT4 terminal running with the chart open for as long as you need; Spread Logger will collect data in real-time. Note: For the most accurate results, it's best to attach Spread Logger Write to a 1-Minute chart. Note: All files created by Spread Logger Write will be saved in the terminal\experts\files folder. Using Spread Logger Read: Open the chart for the currency pair you’ve logged data for and attach Spread Logger Read. If you used a custom file name, ensure it's typed correctly. While you can attach Spread Logger Read to any timeframe, using a chart that matches the timeframe of your collected data will yield the best visual results. Spread Logger Read will display key stats including: Time tested & number of bars tested Mean spread Mode & frequency of the mode as a percentage If the time interval for your collected data is within the range of the currently displayed chart, you'll see the spread data drawn on the chart. Plus, the live spread will be shown from the moment you attached Spread Logger Read. Please share your data and results! Happy logging! :)

2011.01.31
Harnessing the New Bar Event Handler for Your MetaTrader 5 Indicators
MetaTrader5
Harnessing the New Bar Event Handler for Your MetaTrader 5 Indicators

If you’re looking to enhance your trading experience on MetaTrader 5, you’re in the right place! The concept behind the New Bar Event Handler is a game-changer when it comes to how indicators function. In this post, we’ll dive into how you can use this feature effectively in your trading systems. The main takeaway? It allows you to perform recalculations only when a new bar appears, providing a more efficient alternative to constantly using the OnCalculate() function. Let’s take a look at a straightforward indicator that gets the job done: it simply prints a line whenever a new bar forms: //+------------------------------------------------------------------+ //|                                            OnNewBarCalculate.mq5 | //|                                            Copyright 2010, Lizar | //|                                                    Lizar@mail.ru | //+------------------------------------------------------------------+ #property copyright "Copyright 2010, Lizar" #property link      "Lizar@mail.ru" #property version   "1.00" #property indicator_chart_window #include <OnNewBarCalculate.mqh> // this is where the magic happens with OnNewBarCalculate()//+------------------------------------------------------------------+ //| New bar event handler for the indicator      | //+------------------------------------------------------------------+ int OnNewBarCalculate(const int rates_total,                 const int prev_calculated,                 const datetime& time[],                 const double& open[],                 const double& high[],                 const double& low[],                 const double& close[],                 const long& tick_volume[],                 const long& volume[],                 const int& spread[])   { //--- write your code here, similar to OnCalculate(); //--- this function runs only when a new bar appears (not on every tick)    PrintFormat("New bar: %s",TimeToString(TimeCurrent(),TIME_SECONDS)); //--- return prev_calculated for the next call    return(rates_total);   }

2011.01.21
Unlocking the Professional ZigZag Indicator for MetaTrader 5
MetaTrader5
Unlocking the Professional ZigZag Indicator for MetaTrader 5

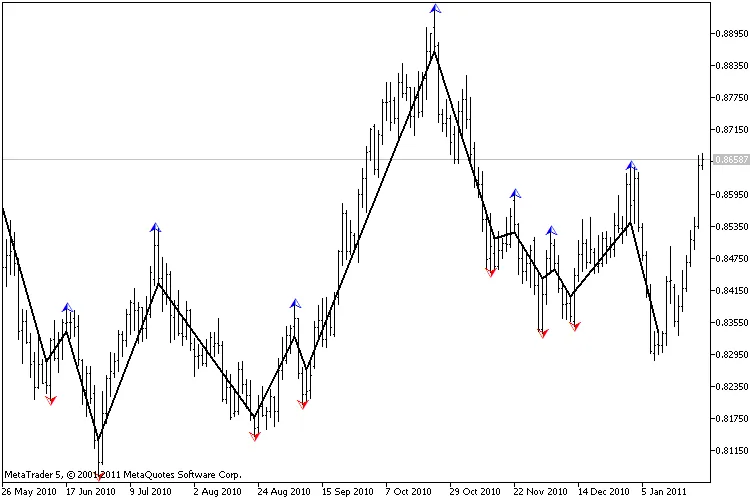
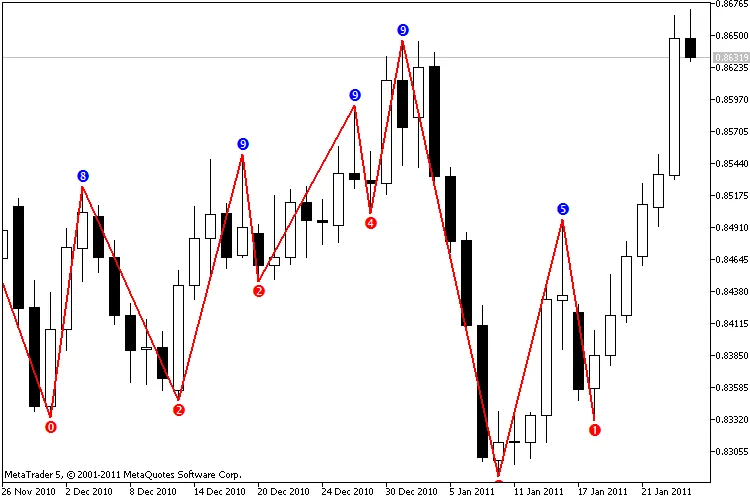
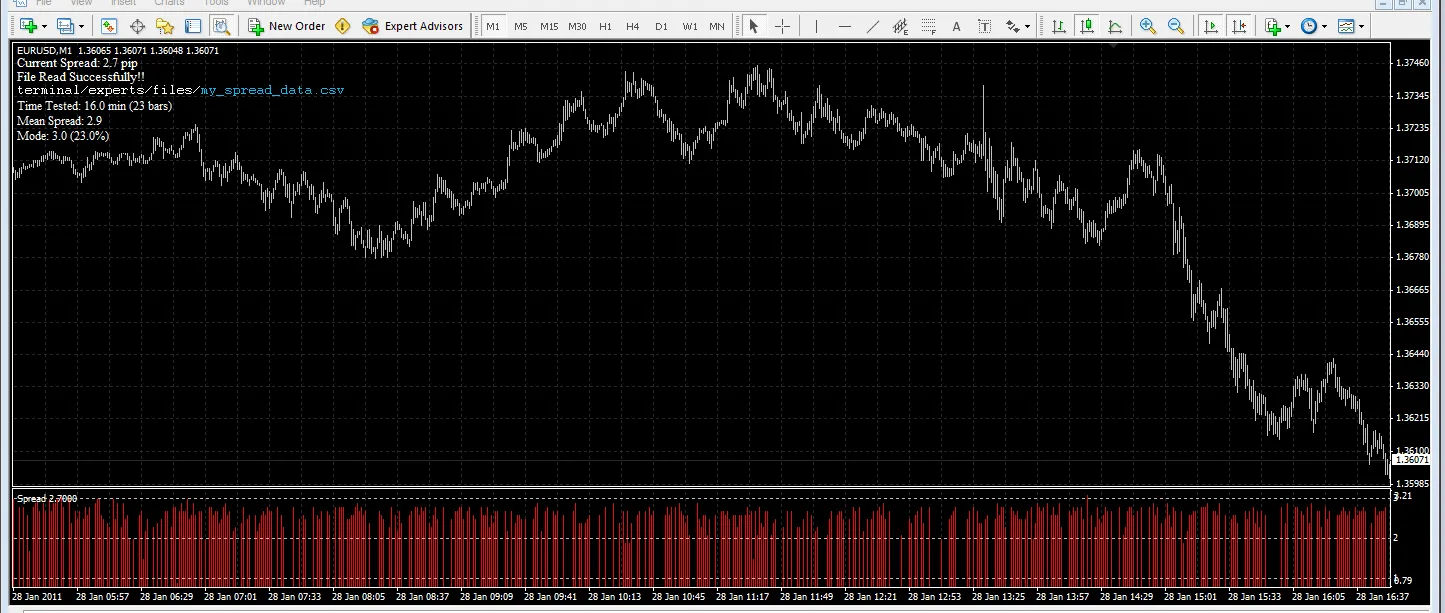
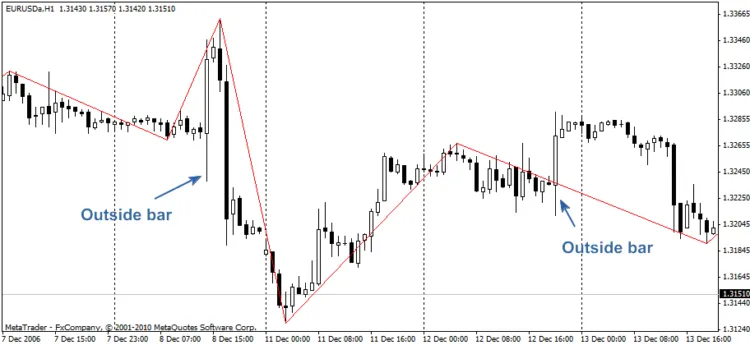
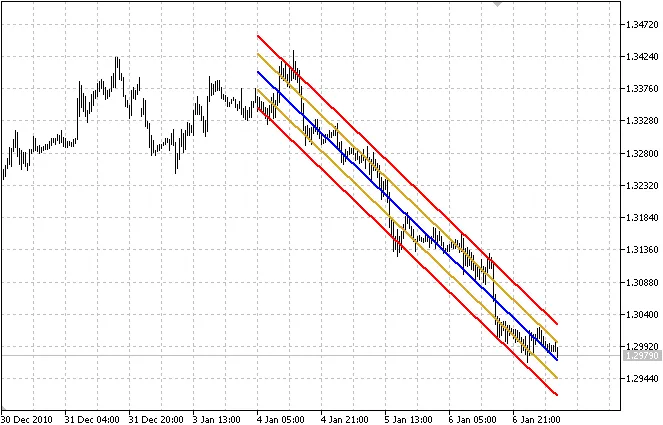
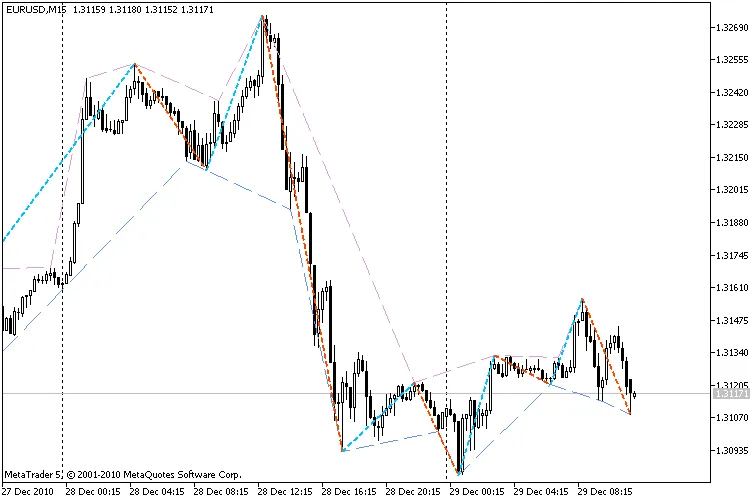
Heads up! This version of the ZigZag indicator is based on ZigZag code and has been published here with the permission of its author, PPC. I've tested this version and fixed an issue in the algorithm.This is the MQL5 version of the ZigZag indicator for MetaTrader 4.Note: The AlexSTAL_OutsideBar.mqh library should be placed in the ..\MQL5\Include folder of your MetaTrader 5 terminal.Is that all there is to it?For me, the ZigZag indicator is like compressing the price chart. It can be calculated using the bar's price (like the Close price) or the High/Low prices of the bar, which is the most common method.While using the standard ZigZag from MetaQuotes, I came across a couple of issues. The main downside is that the standard ZigZag doesn't account for outside bars.Back in 2007, Rashid Umarov (Rosh) published the Zigzag2 R code which includes outside bar handling (using the DRAW_ZIGZAG style instead of DRAW_SECTION).Now, let’s outline the features of a correctly implemented ZigZag:The Highs and Lows must alternate strictly;The High must be higher (or equal) than all bars on the right until the next Low;The Low must be lower (or equal) than all bars on the left until the next High.To illustrate, let’s look at an example (EURUSD, H1, December 8-13, 2006). Here, we have two cases with an outside bar. The standard ZigZag fails to construct the “correct” picture.Figure 1. Typical ZigZag with input parameters [12;5;3] and [12;0;0]Figure 2. Zigzag2 R with input parameters [12;5;3]Figure 3. Zigzag2 R with input parameters [12;0;0]At first glance, Figure 3 looks correct, but there are some caveats:While the construction is accurate due to the input parameters, the algorithm should work effectively with any parameters.The outside bar on the left side is incorrect due to the order of High/Low formation of the bar:The ZigZag segments need to be constructed in this manner.I’ve tested numerous ZigZag algorithms: ZigZag MT3, ZigZag, Zigzag R, Zigzag2 R, ZigZag_NK, ZigZag_ZUP89_nen, ZigZag_new_nen4, CZigZag, Swing_ZZ_1, DT_ZZ_nen, ZigZag_Talex, Reverse_ZZ, Points_ZZ_1, i_MF_Fractal_ZZ_3in1, ang_Amp_ZZ, ZigzagFr_v1, NonLagZigZag_v2, ZZ_FF_v3, ZigZag Ensign, ZigZag tauber, SQZZ Товаровед, ZZ_2L_nen wellx, Channel ZZ, Azzx_larryzz_3_0, RPoint, RPoint-m v2, ZigZagTF. But none of them resolved the issue accurately.Here are some figures showcasing this indicator:Figure 4. Professional ZigZag with input parameters [12;0]Figure 5. Professional ZigZag with input parameters [23;0]Features of this version include:One-pass algorithmIt recalculates and redraws only the last segment (the segment can’t be canceled unless there’s a history update)It uses an optimization algorithm for calculations inside the bar (it doesn’t recalculate on the tick if the price has changed within the current bar or if the price change is below the threshold defined by the MinMotion input parameter)It offers two methods for ordering High/Low formation: one using the bar type (fast but less precise) and another using data from a lower timeframe (which requires history verification or modifications to the OutsideBar library).The ProExtra version isn't published yet, as the accuracy of the MetaTrader 5 quotes hasn’t been verified.Here are more examples of incorrect ZigZag constructions:Figure 6. EURUSD, H1, November 29-December 7. (Red line: ZigZag with input parameters [7;0;0]. Blue line: Zigzag2 R with input parameters [7;0;0].)Figure 7. EURUSD, H1, 2010, November 29 - December 7. The correct construction of ZigZag segments.ConclusionWhile this version isn’t perfect, I’m actively working on it.Due to the channel algorithm (iHighest/iLowest), sometimes it skips the highs.Please let me know about any bugs or features of this indicator.

2011.01.19
Understanding the Orlov ZigZag Indicator for MetaTrader 4
MetaTrader4
Understanding the Orlov ZigZag Indicator for MetaTrader 4

Quick Overview: If you’re navigating the world of trading, you’ve probably encountered your fair share of ZigZag indicators. However, many of them come with complex algorithms that just don’t cut it. The working principle and settings can be a bit of a head-scratcher too. That’s why I decided to create my own version of the ZigZag, and naturally, I named it after myself! This ZigZag boasts a straightforward and intuitive approach. It effectively highlights impulses and corrections that matter to you, without the hassle of redrawing, as it only marks existing impulses. Features and How It Works: extern double MinRatio=0.33; This parameter determines the relationship of a new impulse to the previous one that the ZigZag will respond to. In simpler terms, a new line will only be drawn if the current impulse is at least 0.33 of the previous one. 0.5 - meaning the new impulse must be at least half of the previous 0.75 - meaning the new impulse must be at least three-quarters, and so on. extern int MinPoints=20; This filter helps to eliminate minor movements, or market noise. It sets the minimum impulse size needed for a response, measured in points. Essentially, the ZigZag won’t react to impulses smaller than MinPoints. extern int ForcePoints=50; This parameter allows the ZigZag to react to significant pullbacks even if they are less than the MinRatio. For instance, this is useful after sharp market movements. If the MinPoints parameter is set higher than ForcePoints, the ForcePoints value will automatically adjust to match. extern bool ByClose=False; This fascinating parameter allows the ZigZag to be drawn based on close prices, effectively ignoring the market noise from highs and lows. extern int History=5000; And finally, here’s a simple parameter for History. It’s just that! So there you have it! The Orlov ZigZag is designed to simplify your trading experience, helping you focus on the important price movements without the clutter of unnecessary noise. Give it a try and let me know what you think!

2011.01.13
Mastering MACD with Ichimoku: A Game-Changer for MetaTrader 4 Traders
MetaTrader4
Mastering MACD with Ichimoku: A Game-Changer for MetaTrader 4 Traders

The MACD is a tried-and-true indicator that has served as the backbone for countless trading strategies out there. To spice things up, I decided to integrate some Ichimoku concepts with MACD to tap into market sentiment better. Rather than reinventing the wheel by explaining how to use Ichimoku from scratch, I highly recommend checking out an awesome resource at Ichimoku Wiki. This will give you a solid understanding of the indicator. On the attached chart, I’ve provided a basic view of price movements to give you an idea of how to read the information presented. This indicator utilizes the same auto-shading code I use to create floating shades. Make sure to allow DLLs for this feature to work, and you can either wait for a new tick or right-click to edit without changing anything, then close the chart for the clouds to float. Since MACD deals with both positive and negative values, I’m limited in the number of buffers I can use for shading every possibility. As a result, while you’ll always see the Senkou A and B lines (the boundaries of the Kumo Clouds), there may be occasional minor shading when zero line crossovers happen. Don’t worry about it; it’s just something to keep in mind. This approach is a fresh way to validate MACD signals, and I’m genuinely pleased with the insights it offers. Ichimoku has a bit of a learning curve, but it’s definitely worth your time, and I believe this indicator will prove similarly beneficial. It might seem a bit intimidating at first, but the payoff is worth the effort. Initially, I ran the M5 and M15 strategy tester using a simple do-nothing EA just to observe how the indicator behaved. You’ll be amazed at how well it narrates the market story over time! I’ve almost wrapped up my work on the Stochastic and CCI Ichimoku versions, and I released the ADX_Ichimoku on my site a while back. Cheers, Brooky

2011.01.10
First Previous 328 329 330 331 332 333 334 335 336 337 338 Next Last